Work for my project started on Friday, when I put in an order for two 6”x6” sheets of 1/8” thick aluminum. I hadn’t cut metal on the Bantam before, and I was excited to give it a shot. I was out of town for a few days, so I wouldn’t be able to get my material until Wednesday morning. In the meantime, I put together a couple of puzzle pieces that would hopefully be able to fit together in a fun way.


Unfortunately, 6”x 6”, the smallest size I found on McMaster, was larger than the spoiler plate on the Bantam tool, and I couldn’t get it to work. I asked about cutting it down in the shop, but apparently 1/8” is too thick to be cut by anything available on the floor.

In the future, I’ll be sure to order thinner sheets of aluminum. Right now, it’s time for a little improvisation.


I had some scrap leftover from my final last year that I thought could work well. It has two different colors on the front and back, so if create two pieces and flip one of them, it should make for a fun design.

The pieces are quite a bit smaller than what I had originally made, so I needed to redesign the Vectorworks file.

And here we go! I milled piece with the tape on the light side, then flipped the wood to mill with the other side facing up on the other piece.
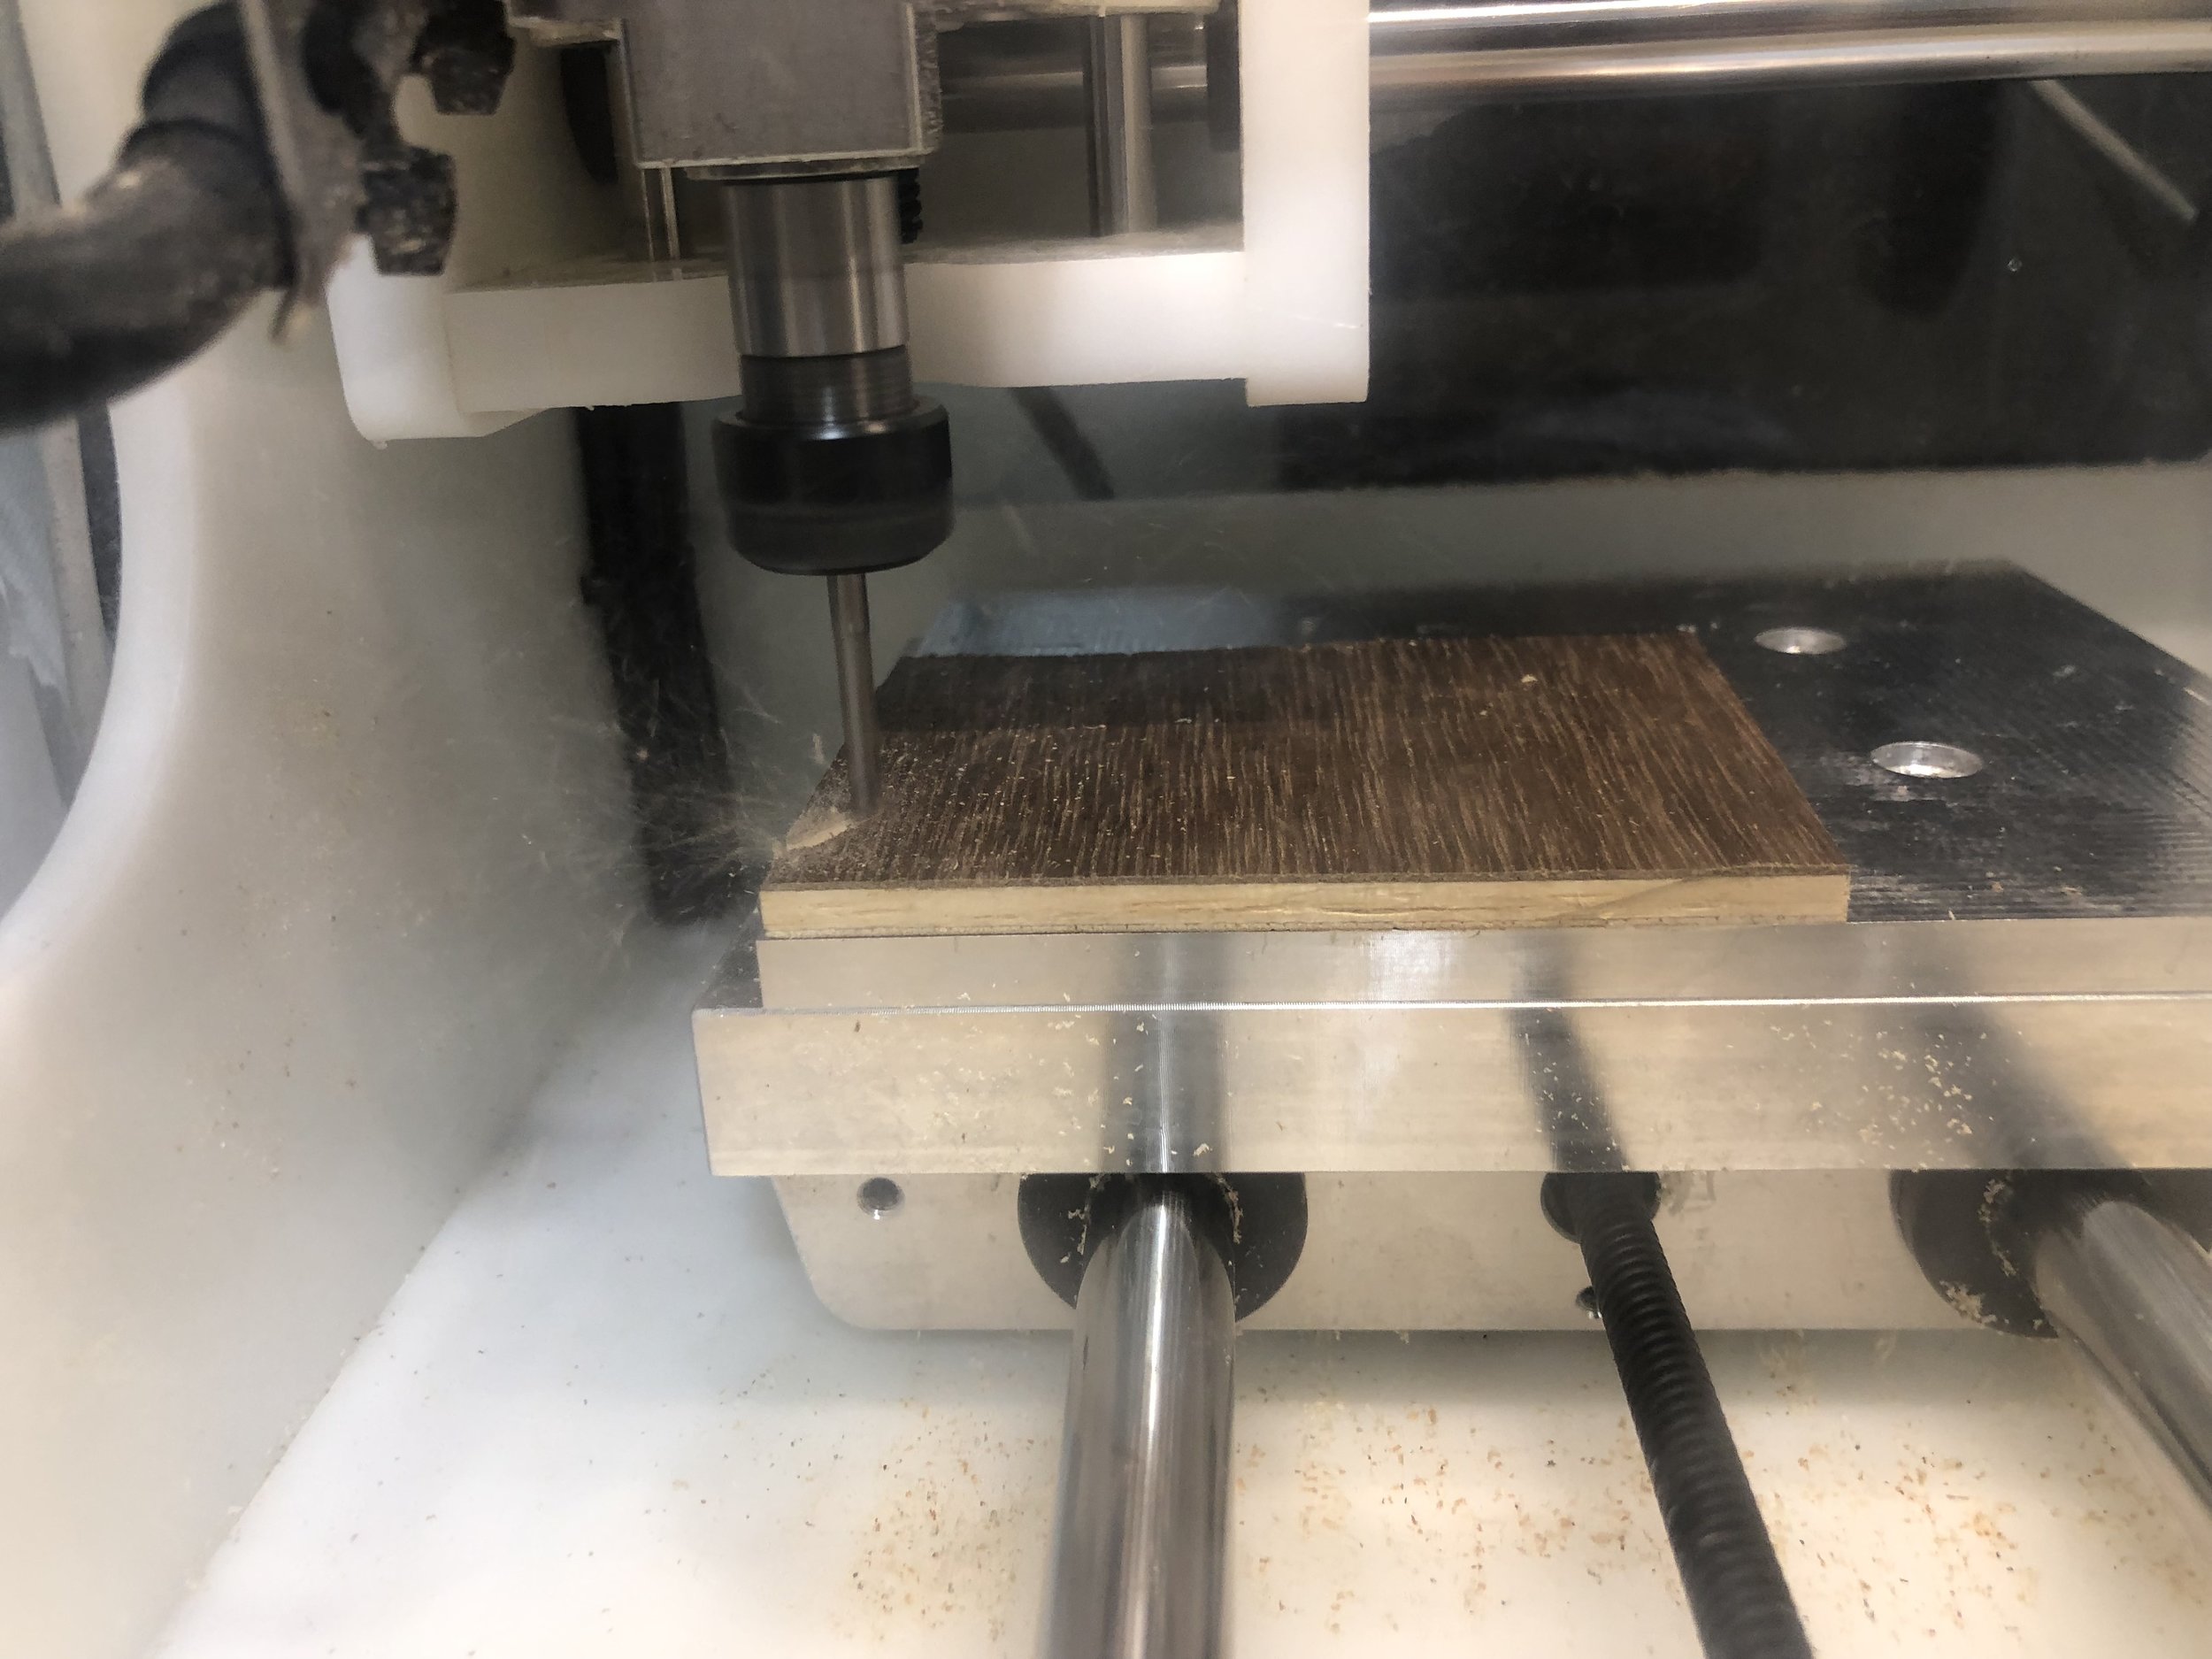

With each piece, the mill was actually so precise that it didn’t cut the double-sided tape loose, making the pieces much easier to remove.
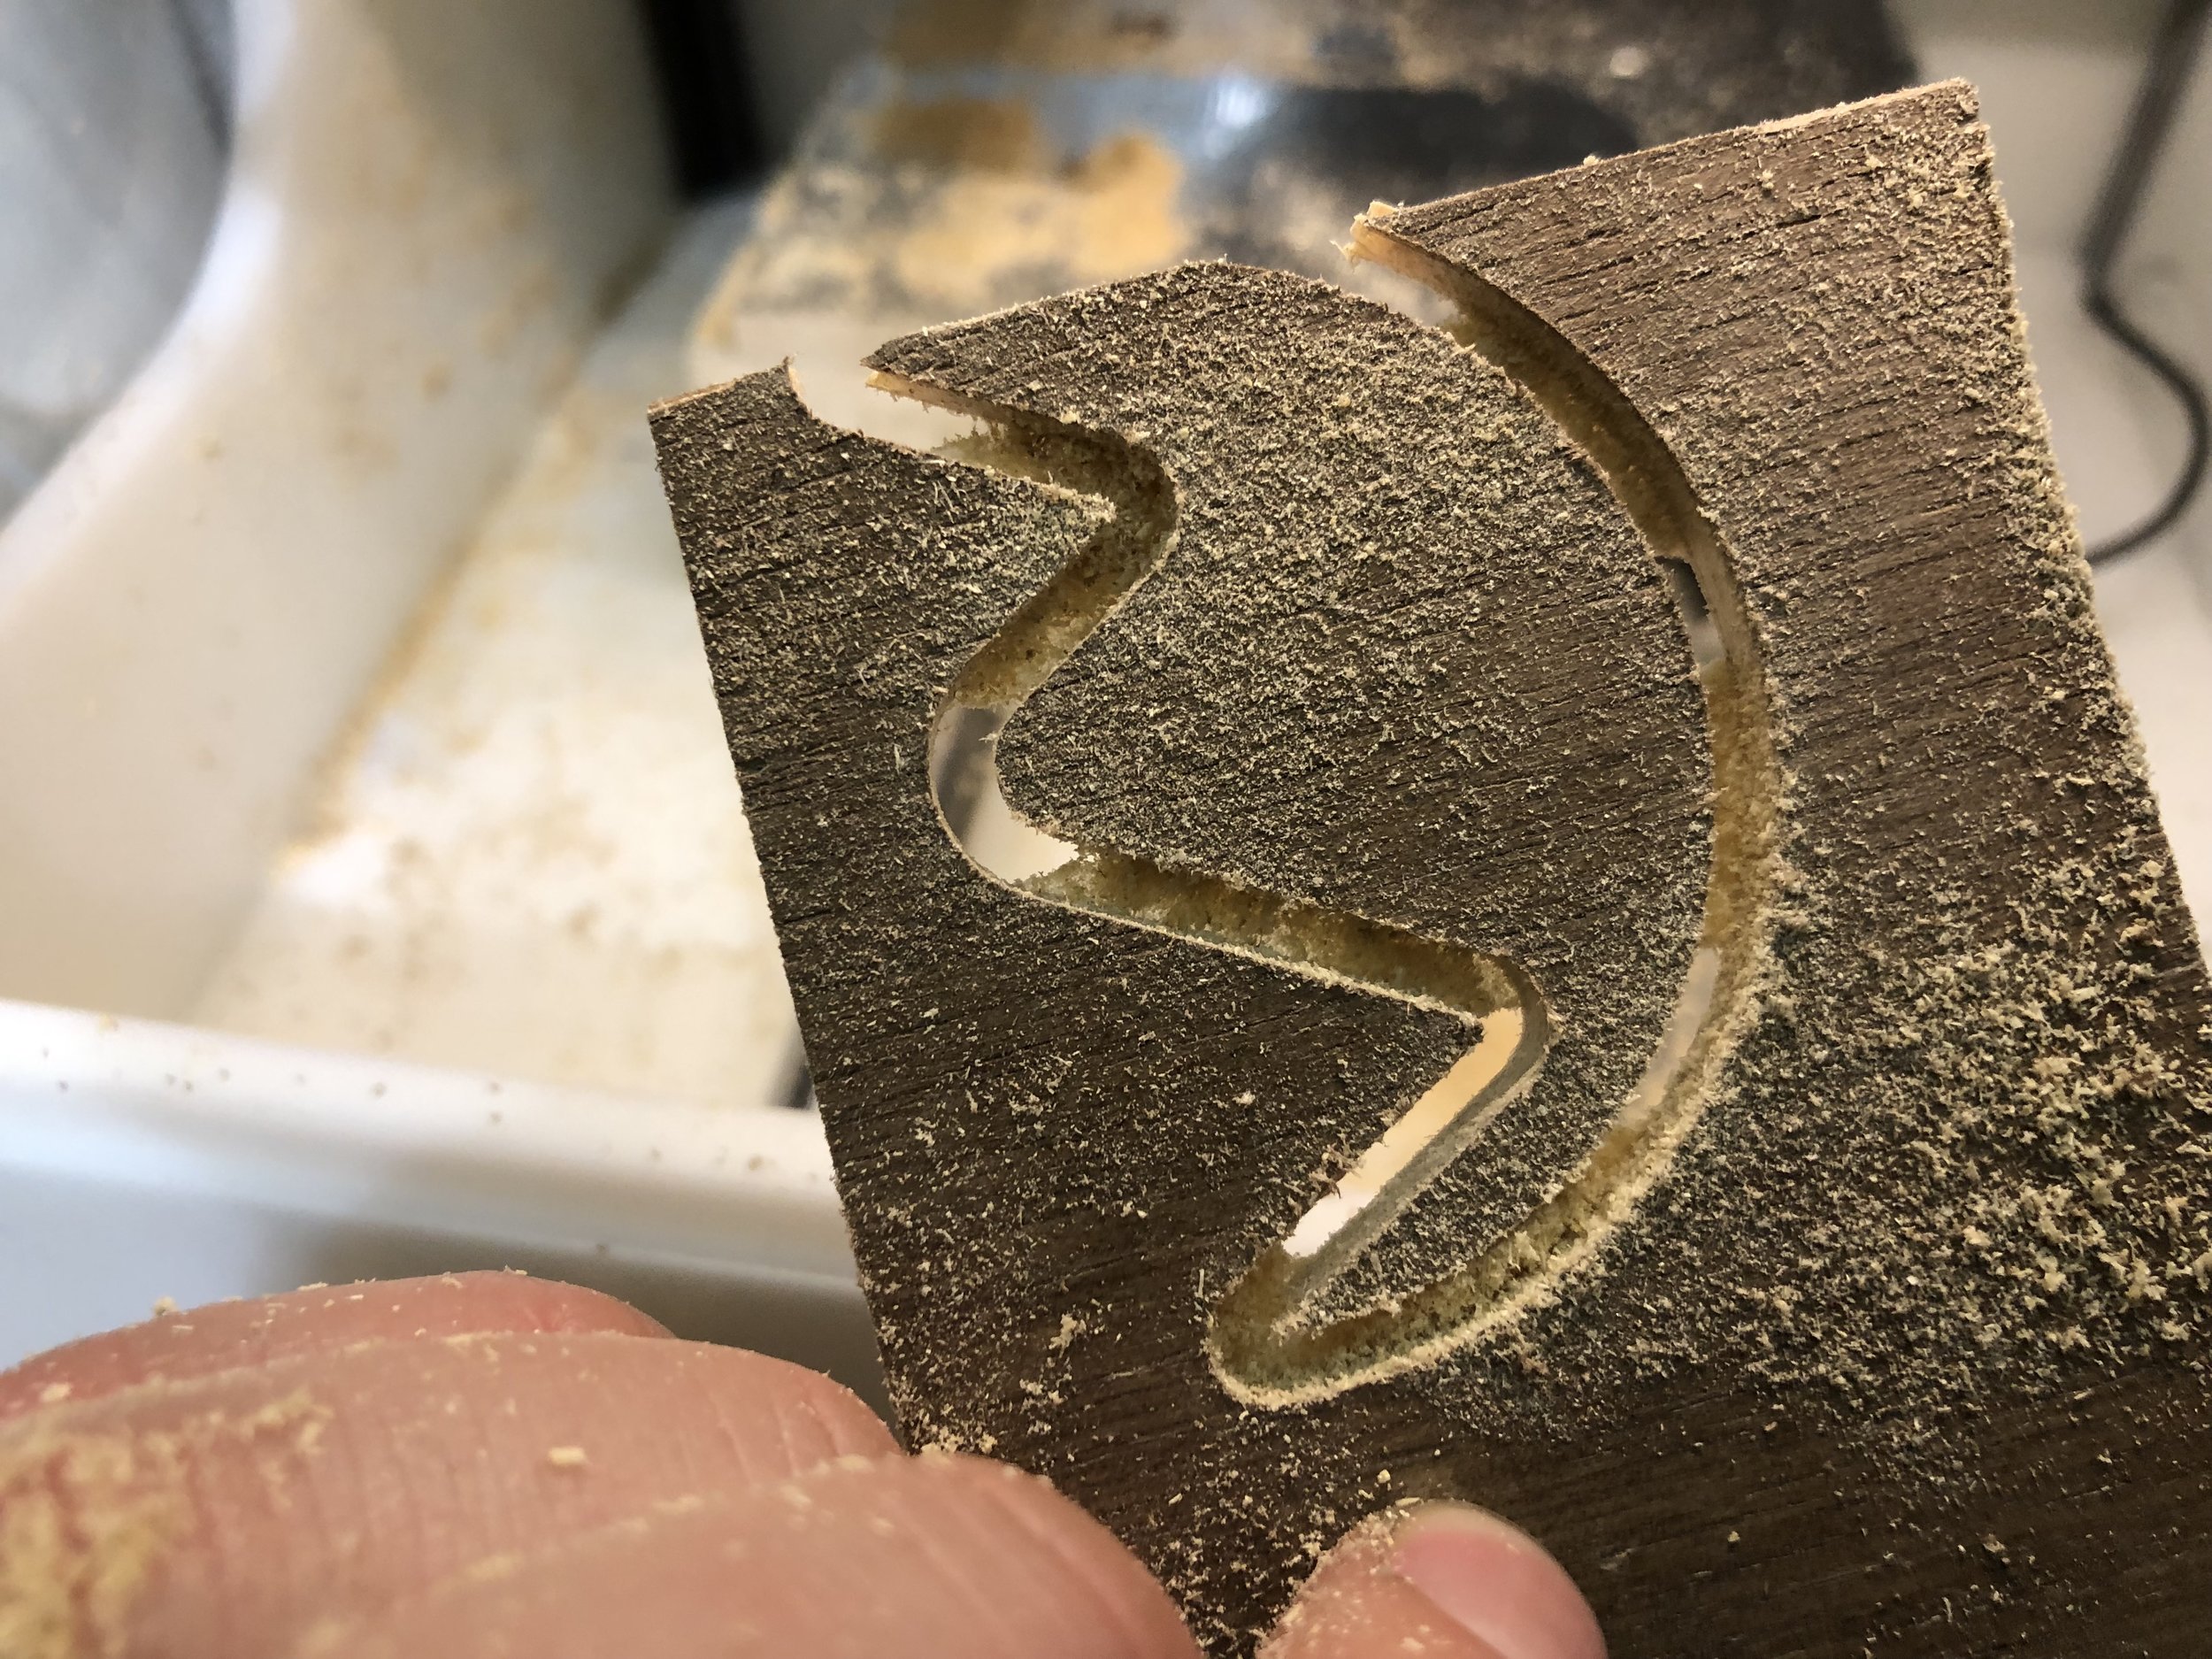

After cleaning out the mill, it’s time to glue these pieces together.

While I acknowledge that epoxy might be a little overkill for a tiny wood piece like this, I hadn’t used it before and I wanted some practice with it before using it on a bigger project. Plus, I had already bought it and I really didn’t feel like waiting for wood glue to dry.
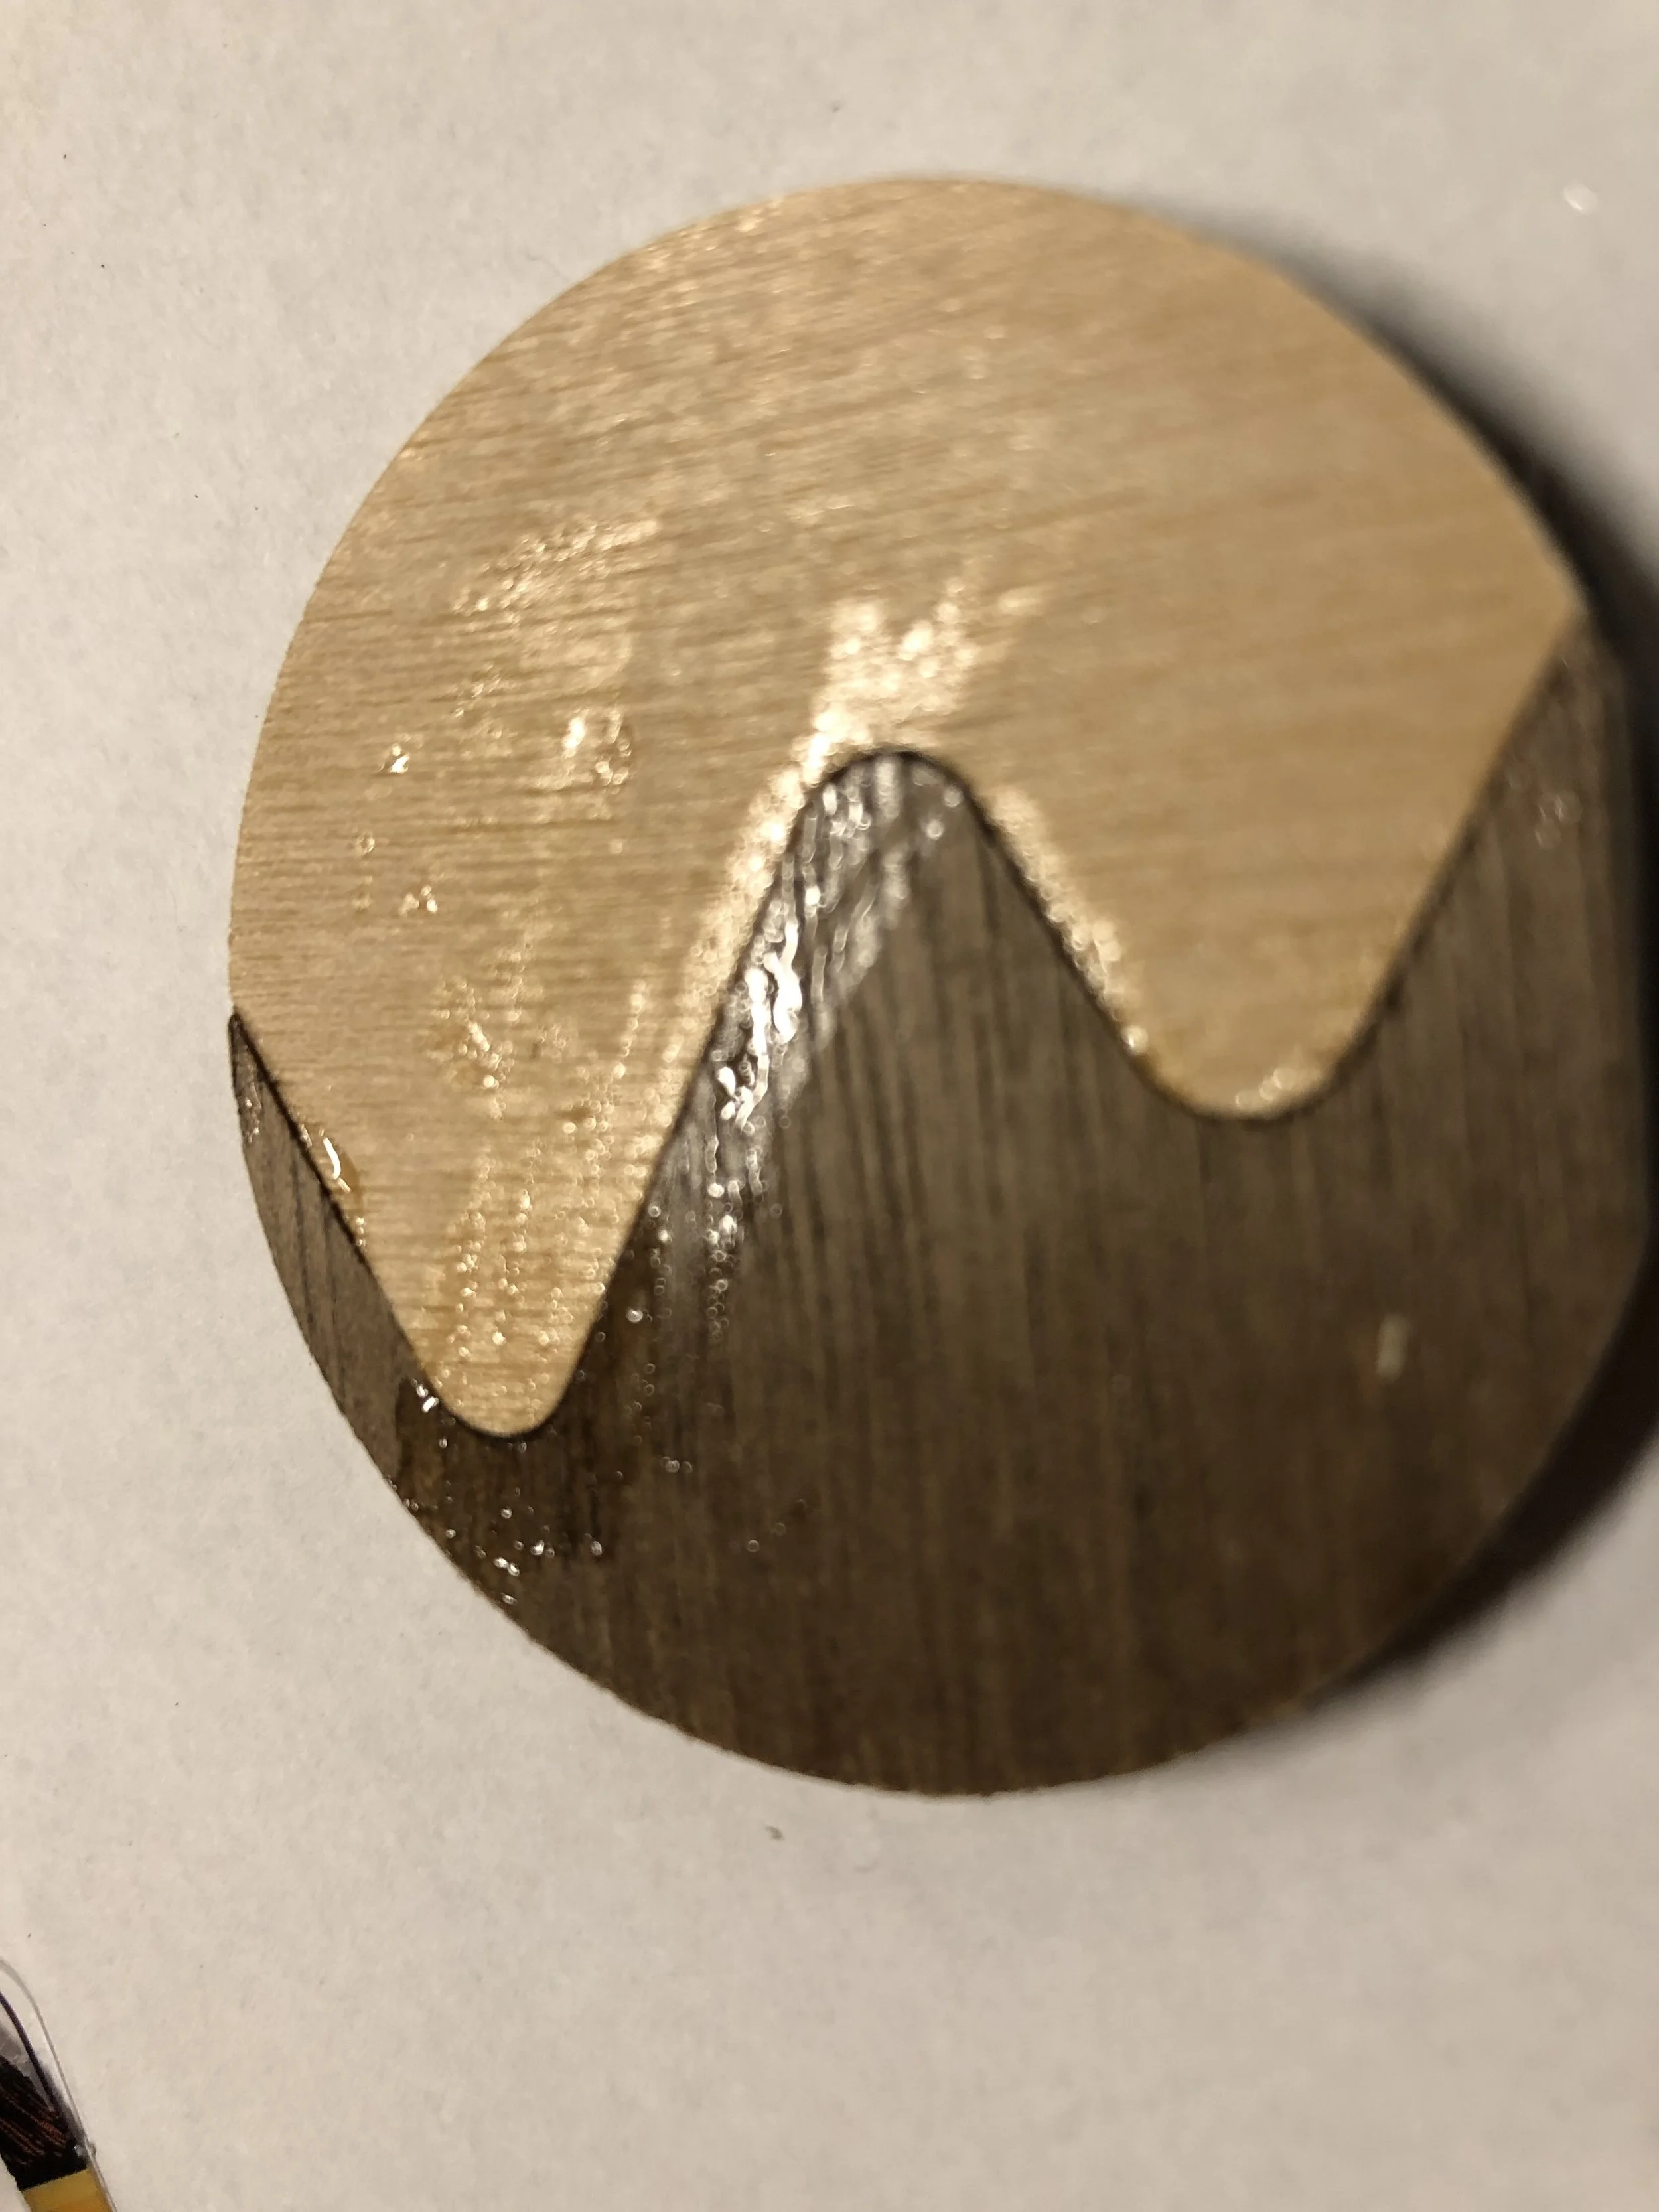
That’s… not the prettiest glue job in history. Let’s see what some sandpaper can do.

That doesn’t look bad!